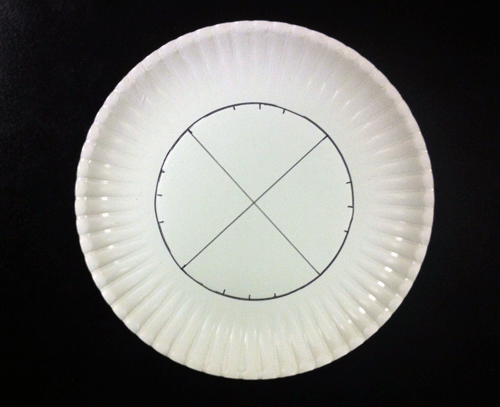
I like the idea of doing paper plate unit circles and today was my third go at it. However, in the past it had always been more of an exercise in using a protractor or compass than actually focusing on the unit circle and trig. So today, I decided I would take the time and do the grunt work for the kids so they could focus on the math.
Step 0: Materials

Brads, scissors, a Paper-Mate flair fine point marker, the best Google Image search of a unit circle that is blank and has the lines drawn in, paper plates, a spare manilla folder
Step 1: Draw the Circles
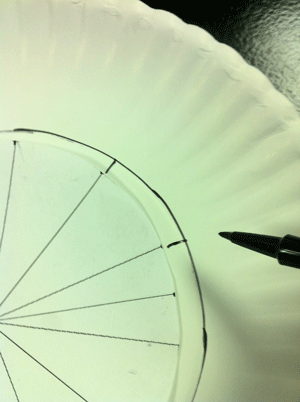
This is the true genius of this method, if I may say so. I simply cut down the unit circle I printed off so that it was slightly smaller than the circle on the paper plates and drew in the tick marks. Perfect 30, 45, and 60 degree angles in a matter of seconds.
Step 3: Draw the Axes
The axes were drawn simply with a straight edge – I cut an easy-to-wield piece of the manilla folder to do so. Piece of cake.
Step 4: Cut Some Terminal Rays
Just sliced some appropriate length pieces out of strips of the manilla folder. Then, I took two snipes at an end to create a point.
Step 5: Teach the Unit Circle, not Protractors/Hand-writing/Neatness
So. Much. Better. Than in the past. We were able to construct (mathematically speaking here) the unit circle: review degrees to radians, use special right triangles to find the first quadrants, use symmetry and reason to fill in the rest. Additionally, I still had a good 15 minutes to spare to do some exact value trig problems at the end of class (i.e. tan(30) ). What has taken twice or three times as long in the past was done in about 25 minutes.
The process of creating 35 “ready-to-go” unit circles, took me 45 minutes. In the past, it would have taken each student about 25 minutes, on average, to do the same for their one paper plate using a protractor. Much better use of time and we really got to get into the nuance of the unit circle and why it is so simple, elegant, and important. Students finished it off by using the brad to connect their arrow and then filling in the angle measure (degrees and radians, of course) and the coordinates of the points on the circle.
 Voila, here’s your unit circle. Love it, cherish it, keep it forever and ever and post it in your dorm room freshmen year of college. You will thank me.


You must be logged in to post a comment.